[section_title title=Closer Look: Exterior & Interior]
Closer Look: Exterior
Starting off with a few exterior shots of this large case (its quite hard to get the entire thing in one frame) so lets run you through some of the interesting points first and a few wide angle exterior shots so you can get a feel for the case.


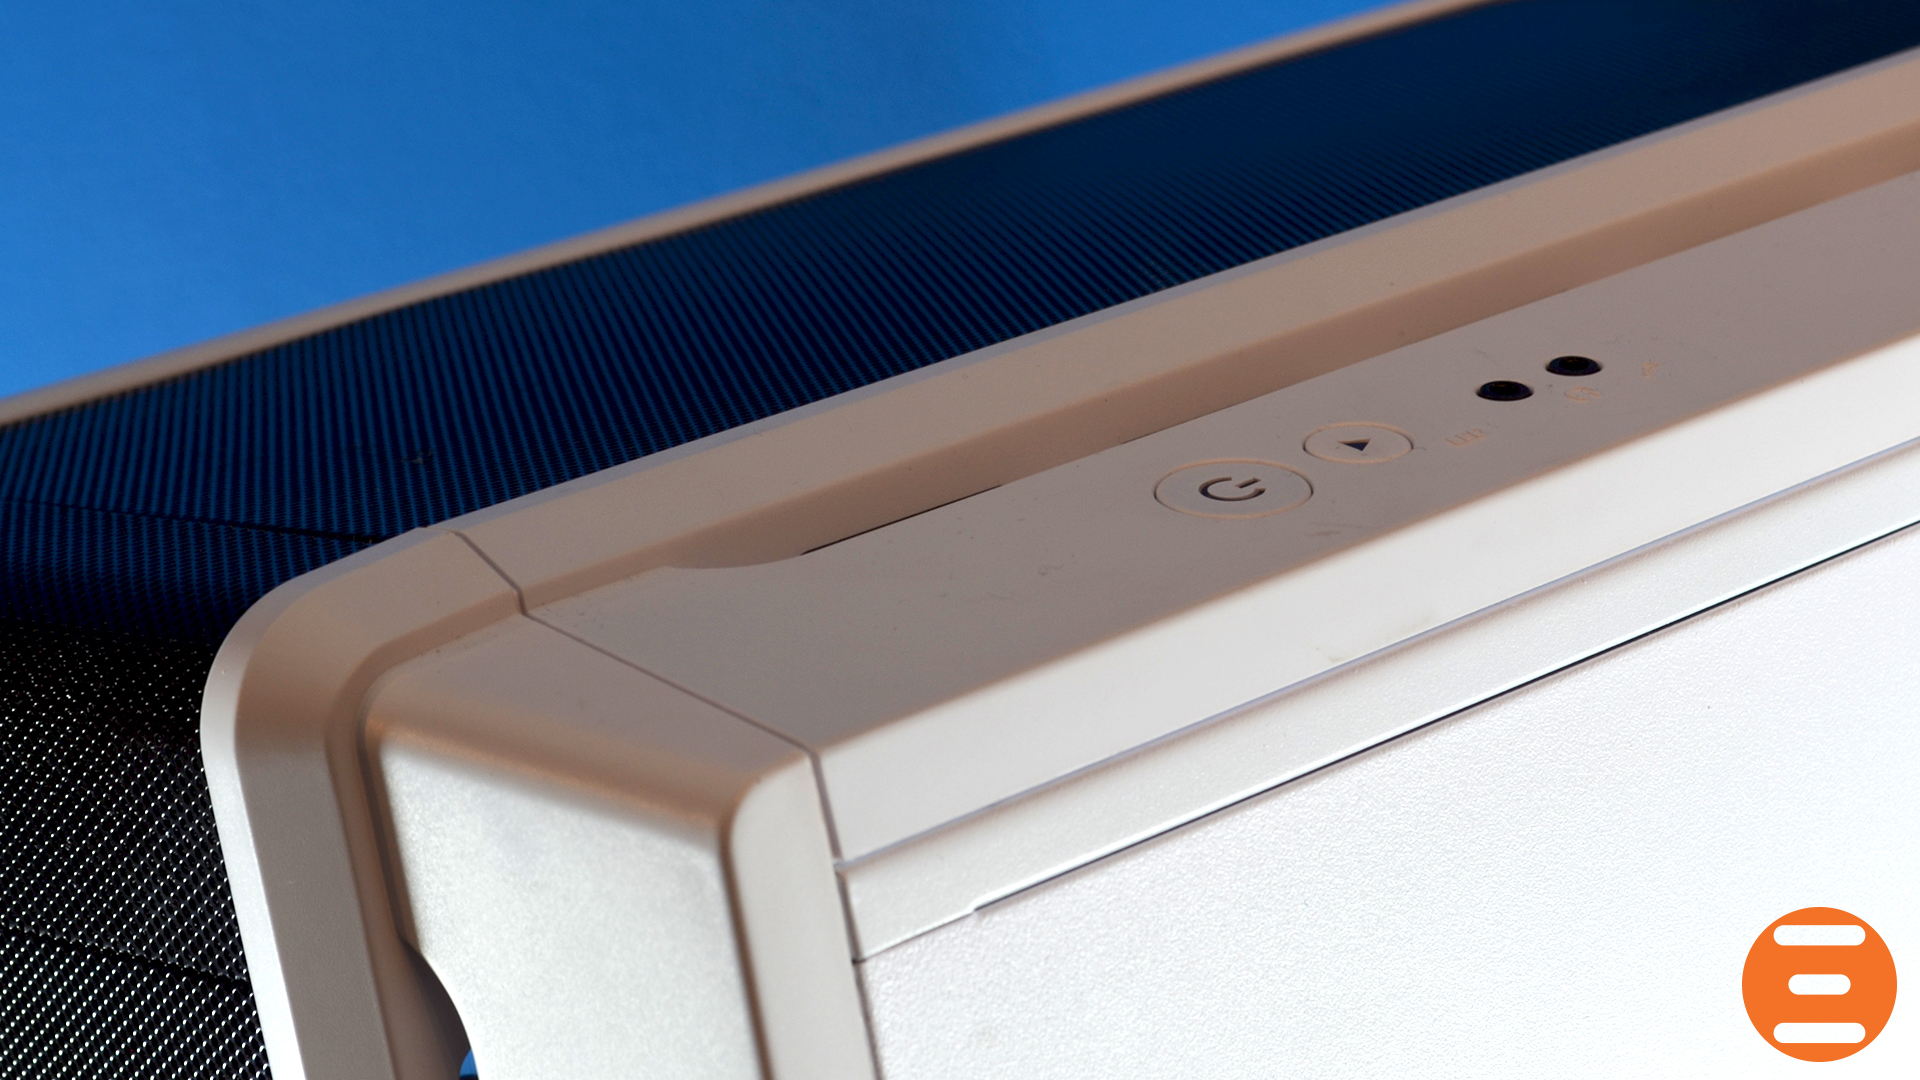
Firstly the IO ports and the power / reset button are located on the right hand side of the case and sit completely flush with the case, although I have no idea why the case has “LED” written on it.


On the opposite side of the case, you’ll find the USB3.0 and USB2.0 ports which are again clean and flush sitting in line with the case.

Taking a step back we can see the rear side panel of the case which is fitted with a magnetic dust filter, and generally looks quite nice in the white powder coated option, have to add a note about the decent quality of the paint job.

The case has this clean mesh running the entire way from the bottom to the front, which allows for large amounts of air to be pushed through the case. Behind the top and the front mesh, you’ll also find some resemblance of a dust filter although it is not removable.

One thing I did find slightly odd about the Aeneas was the included 2.5″ drive bay? Which I feel was slightly useless given that to install large GPU’s you’ll be removing the caddy that those drives occupy. Perhaps a clean panel would have been better?

A shot from the top of the case looking down, I feel the branding and general use of logos on this case are perfect. I didn’t feel intoxicated by it and really felt it added a huge amount of class to the product. On your desk, it is intimidating but gracious at the same time.

Removing the external mesh we can see space at the top of the case. I would have loved for a slightly larger cavity to keep radiators installed in this area of the case vs internally. Due to how close the top of the case and the motherboard are, similar to how the Hex Gear R40 can mount radiators.


The Preinstalled fans are actually located at the rear sections of the case but for this review I decided to fit them to the top of the case. Because they interfered with the heatsink I was using and I didn’t feel the additional intake of air for SSD was required. But let’s move onto the final four shots of the case showing off the exterior!


It is quite a large case to fit into one frame, but you can get how it looks by flicking through every picture. Because of the fact the motherboard lays flat this is one seriously wide case!

 Case Review")

