[section_title title=Closer Look: Interior]
Closer Look: Interior
Moving on to the innards of the Aegis and you can immediately tell it’s had some thought put into the layout. When I first reviewed the Colossus-M I was pleased that though they had rotated the layout that thought had gone into how it would still be cooled. Though no rotation change has been made in the Aegis it’s good to see that the location of items is well thought out and implemented.
Starting below with the front half of the case. You can see at the top the mount location for 2 2.5″ HDD/SSD’s. There is also a third and fourth on the rear panel and below the top mounted 3.5″ HDD bays. The latter one to show off your pride and joy SSD, should you wish to do so/actually have one.

Looking at the rear of the case, we can see a large cut out for CPU cooling brackets. As well as rubber grommets for cable management. The included black 120mm fan is also present in the rear and the included PSU cover which is one of my gripes with the case. It’s nice that BitFenix have thought to include one, but they should have made it the length of the case. I will explain why in the conclusion.

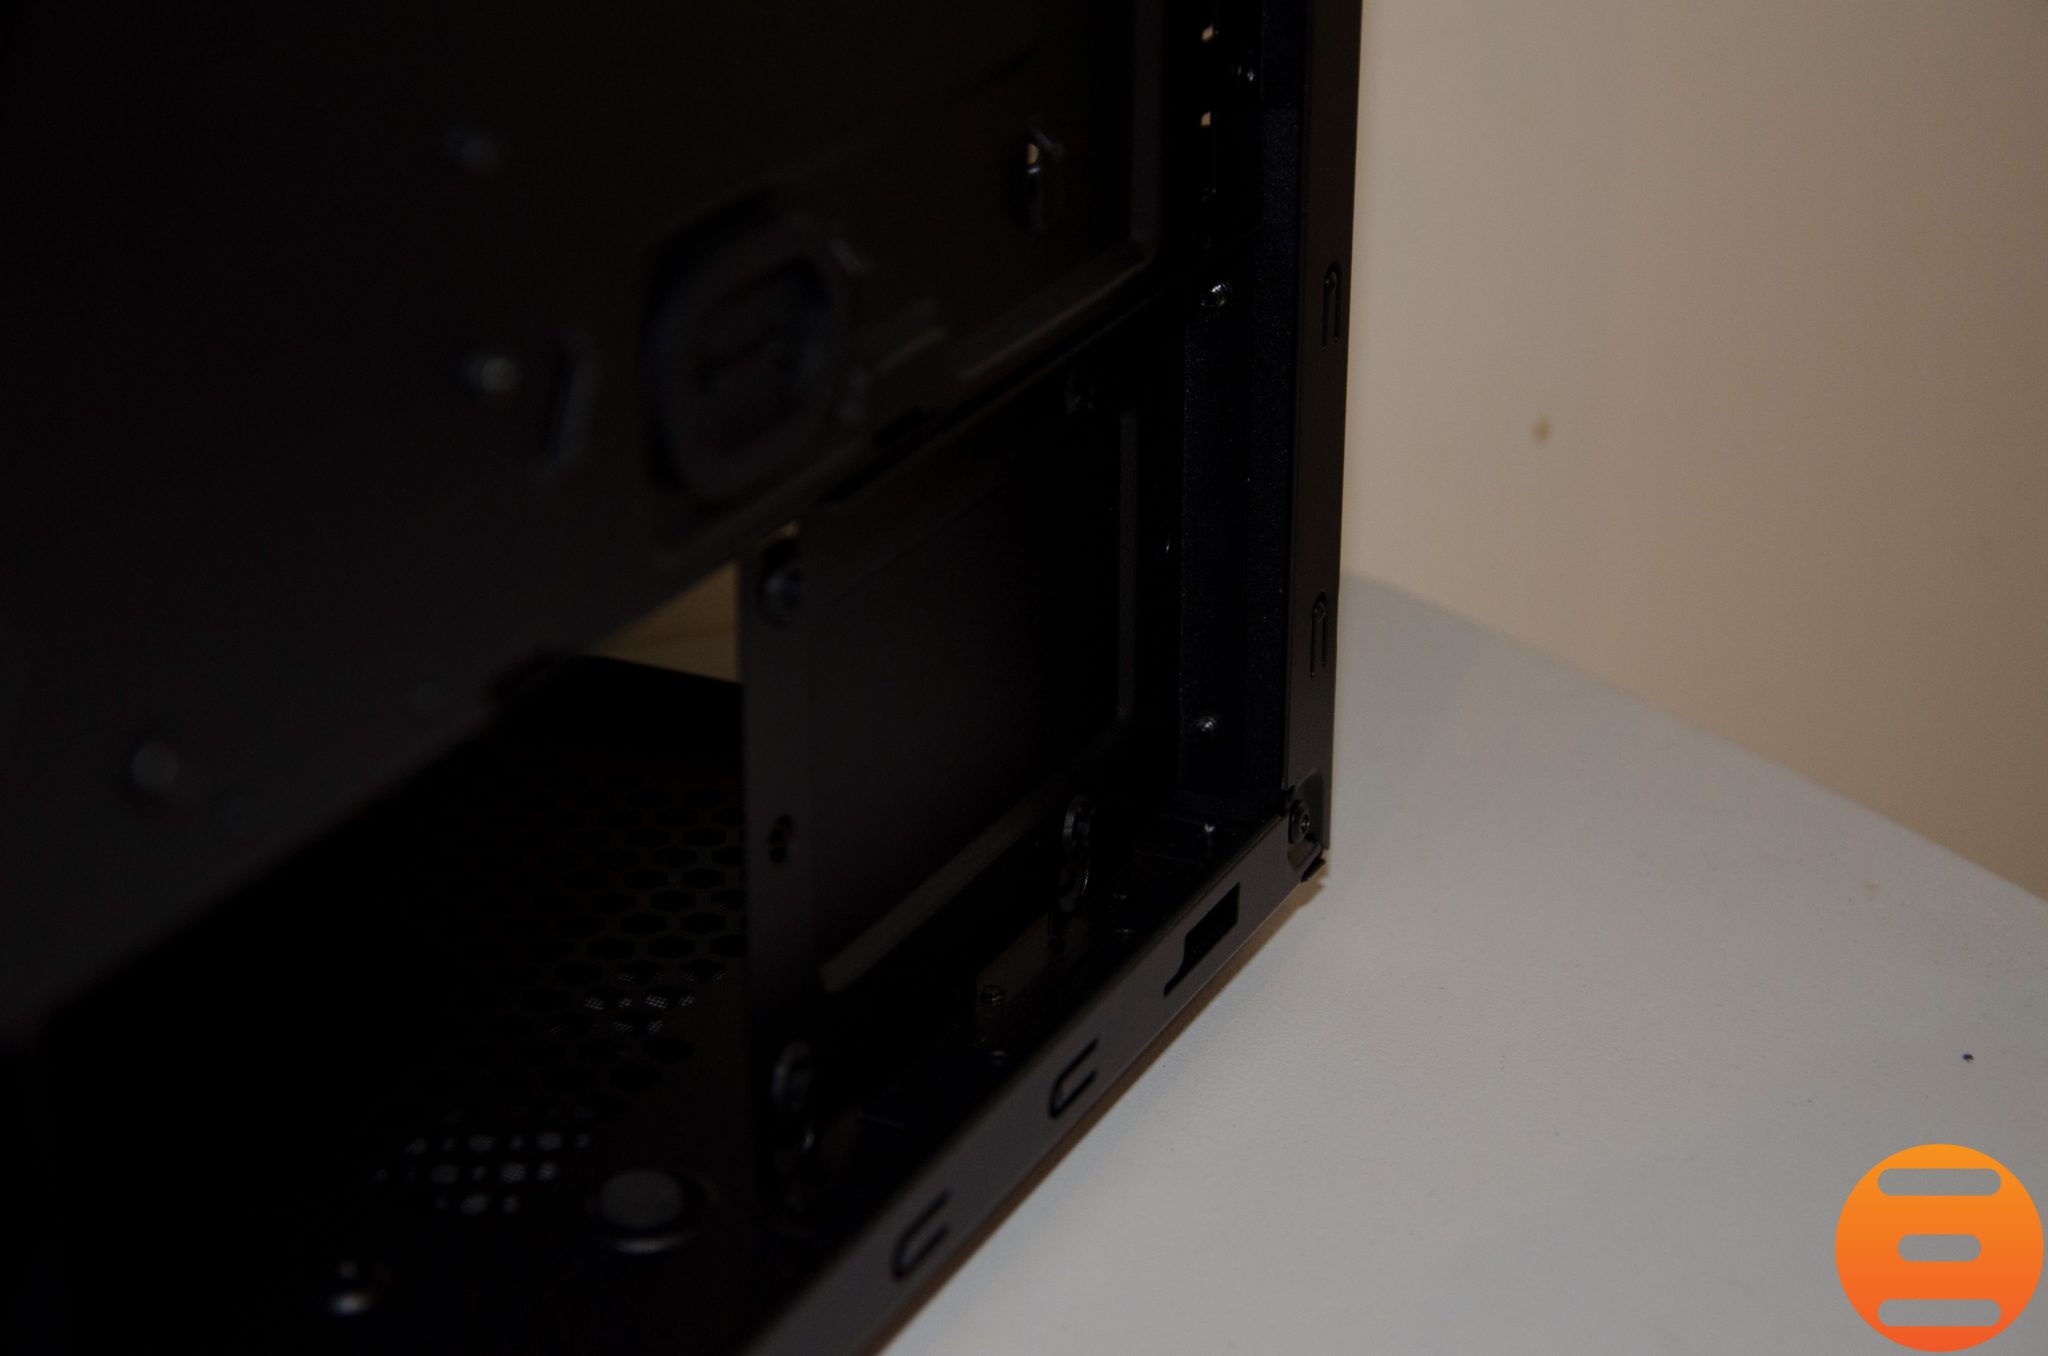
Said PSU cover.

A close up of the 2.5 and 3.5 inch HDD and SSD mount on the top of the case.

Rubber grommets to make cable management a lot easier in the top of the case. These do a good job of hiding all the cables routed to the top of the case and in my opinion are excellent quality grommets.

Included front panel adapters. These include USB3, power, reset, indicators, the fan controller cables and the ICON display USB2 cable.

The second cage for two more 3.5″ HDD’s. This cage is removable by removing 4 screws from the rear of the case. I’m very pleased they made the decision to remove this cage if you want to.

The front panel is removed and we are greeted with this large dust filter which spans the whole front panel. I was pleased to see that BitFenix made the small indentations at the top of the filter to allow the ICON display cable to pass through.

Again, the front panel with the dust filter removed. You can now see the mount locations for 2x140mm and 3x120mm fan locations.

Finally, the view of the rear panel. Cable management was quite easy, but I did have to route the thicker 24-pin cable away from the rest of the cables along the bigger indented area where the cables are routed in this picture. No big issue when done right and it’s clear that BitFenix has meant for this to happen by indenting this area for it.


 Case Review")

